Secondary activities
Painting diary
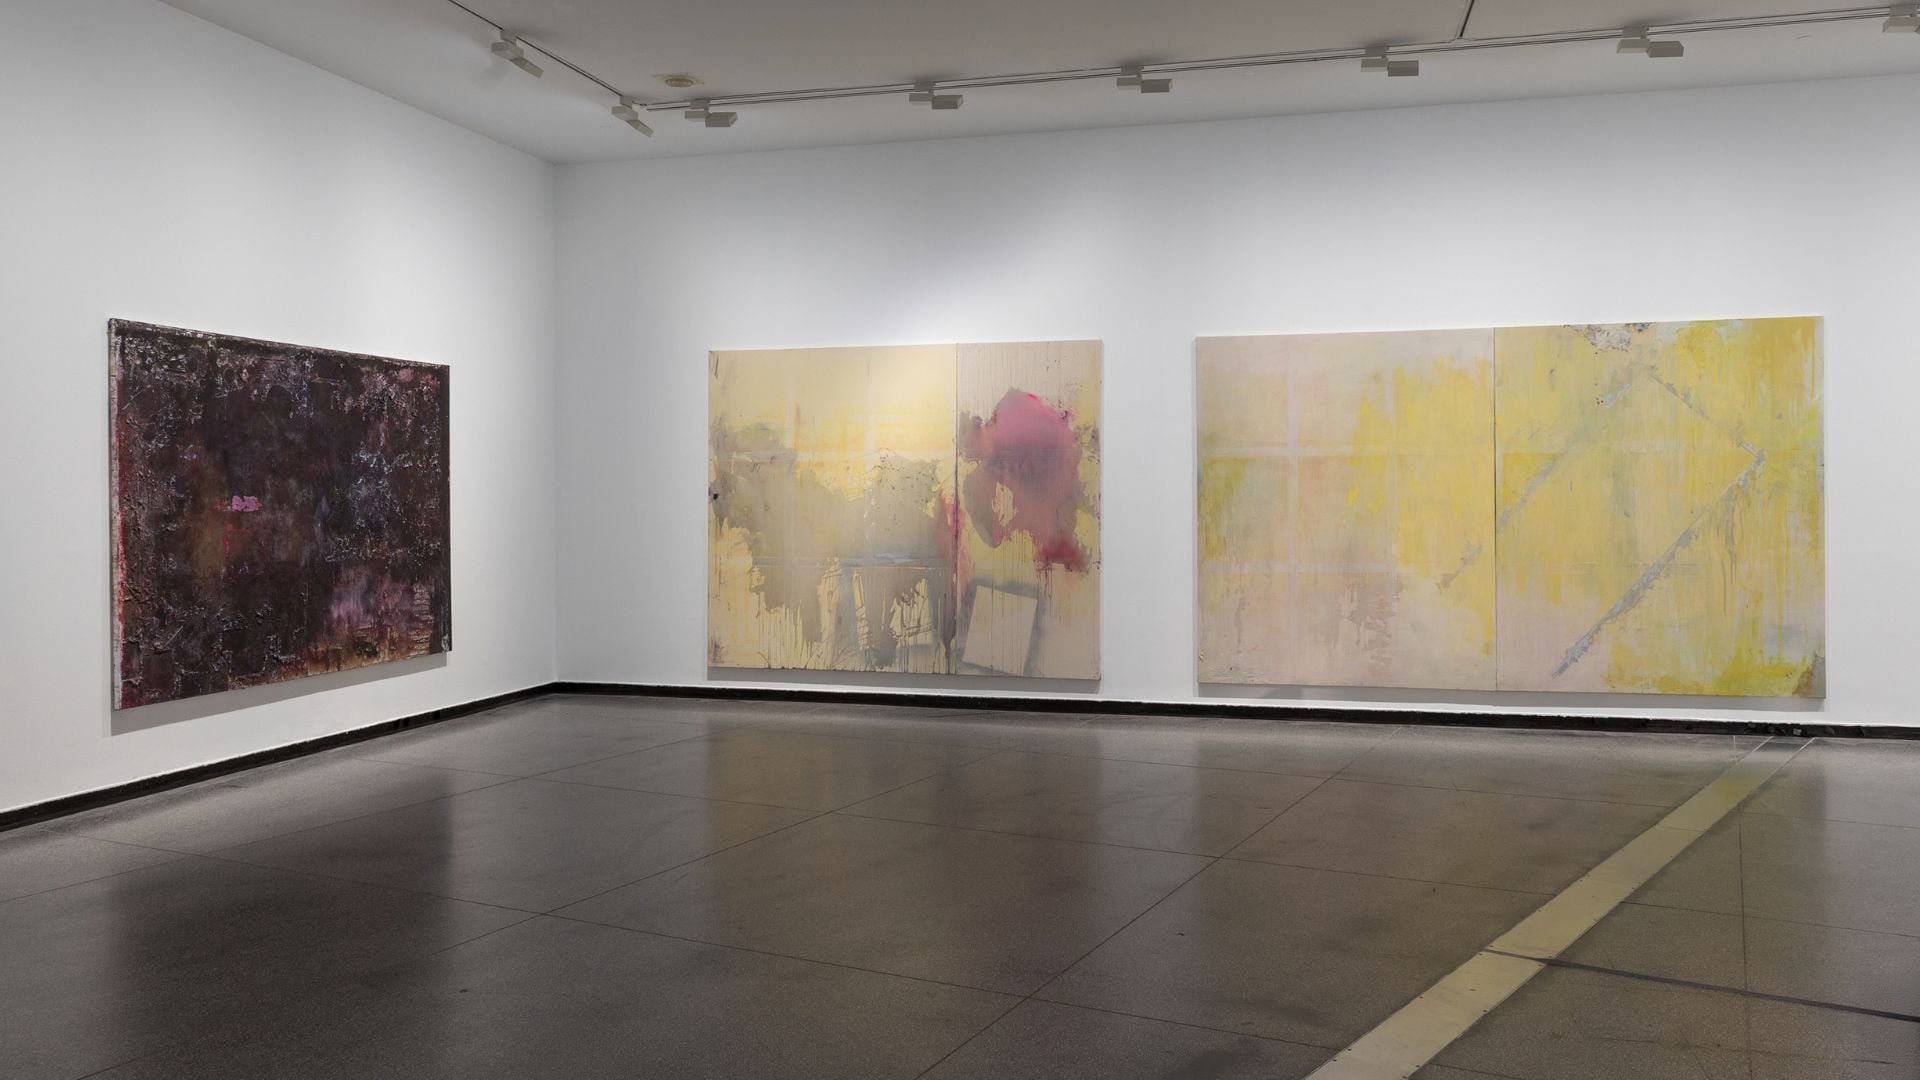
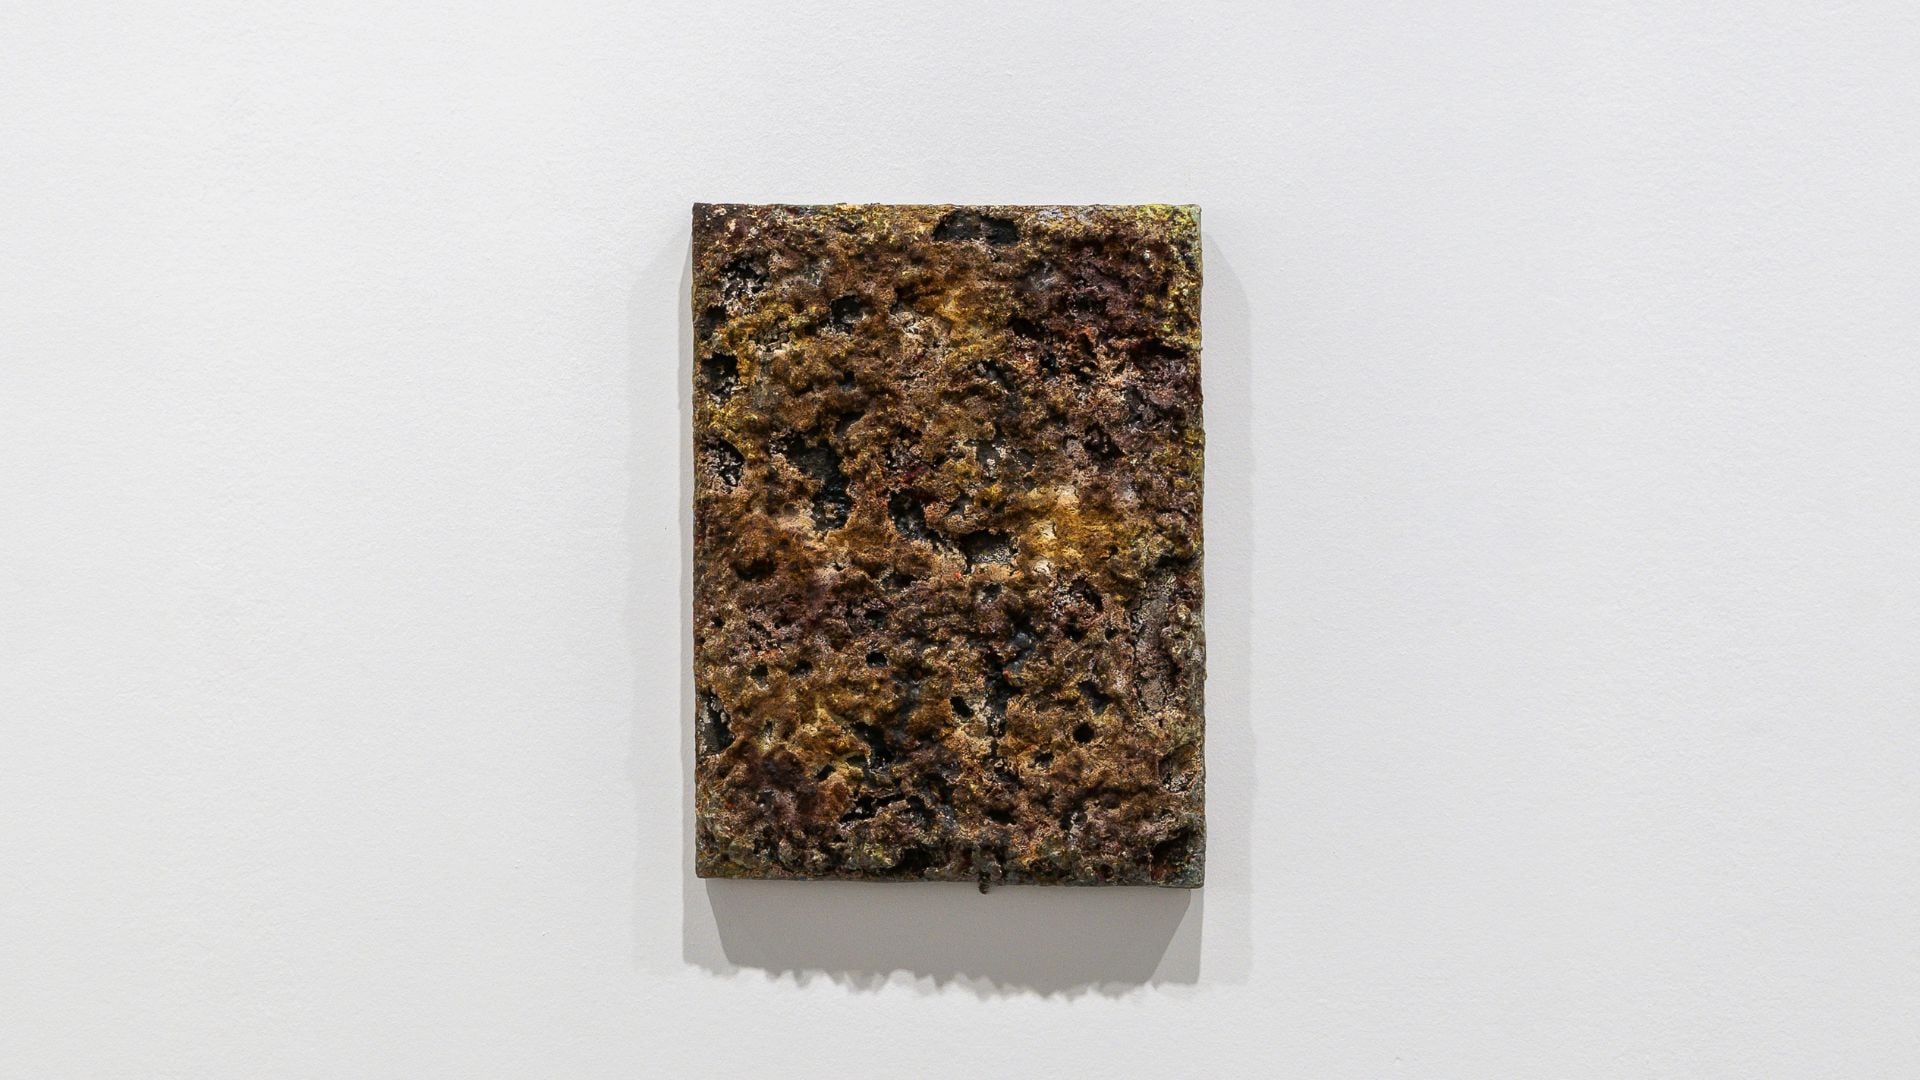
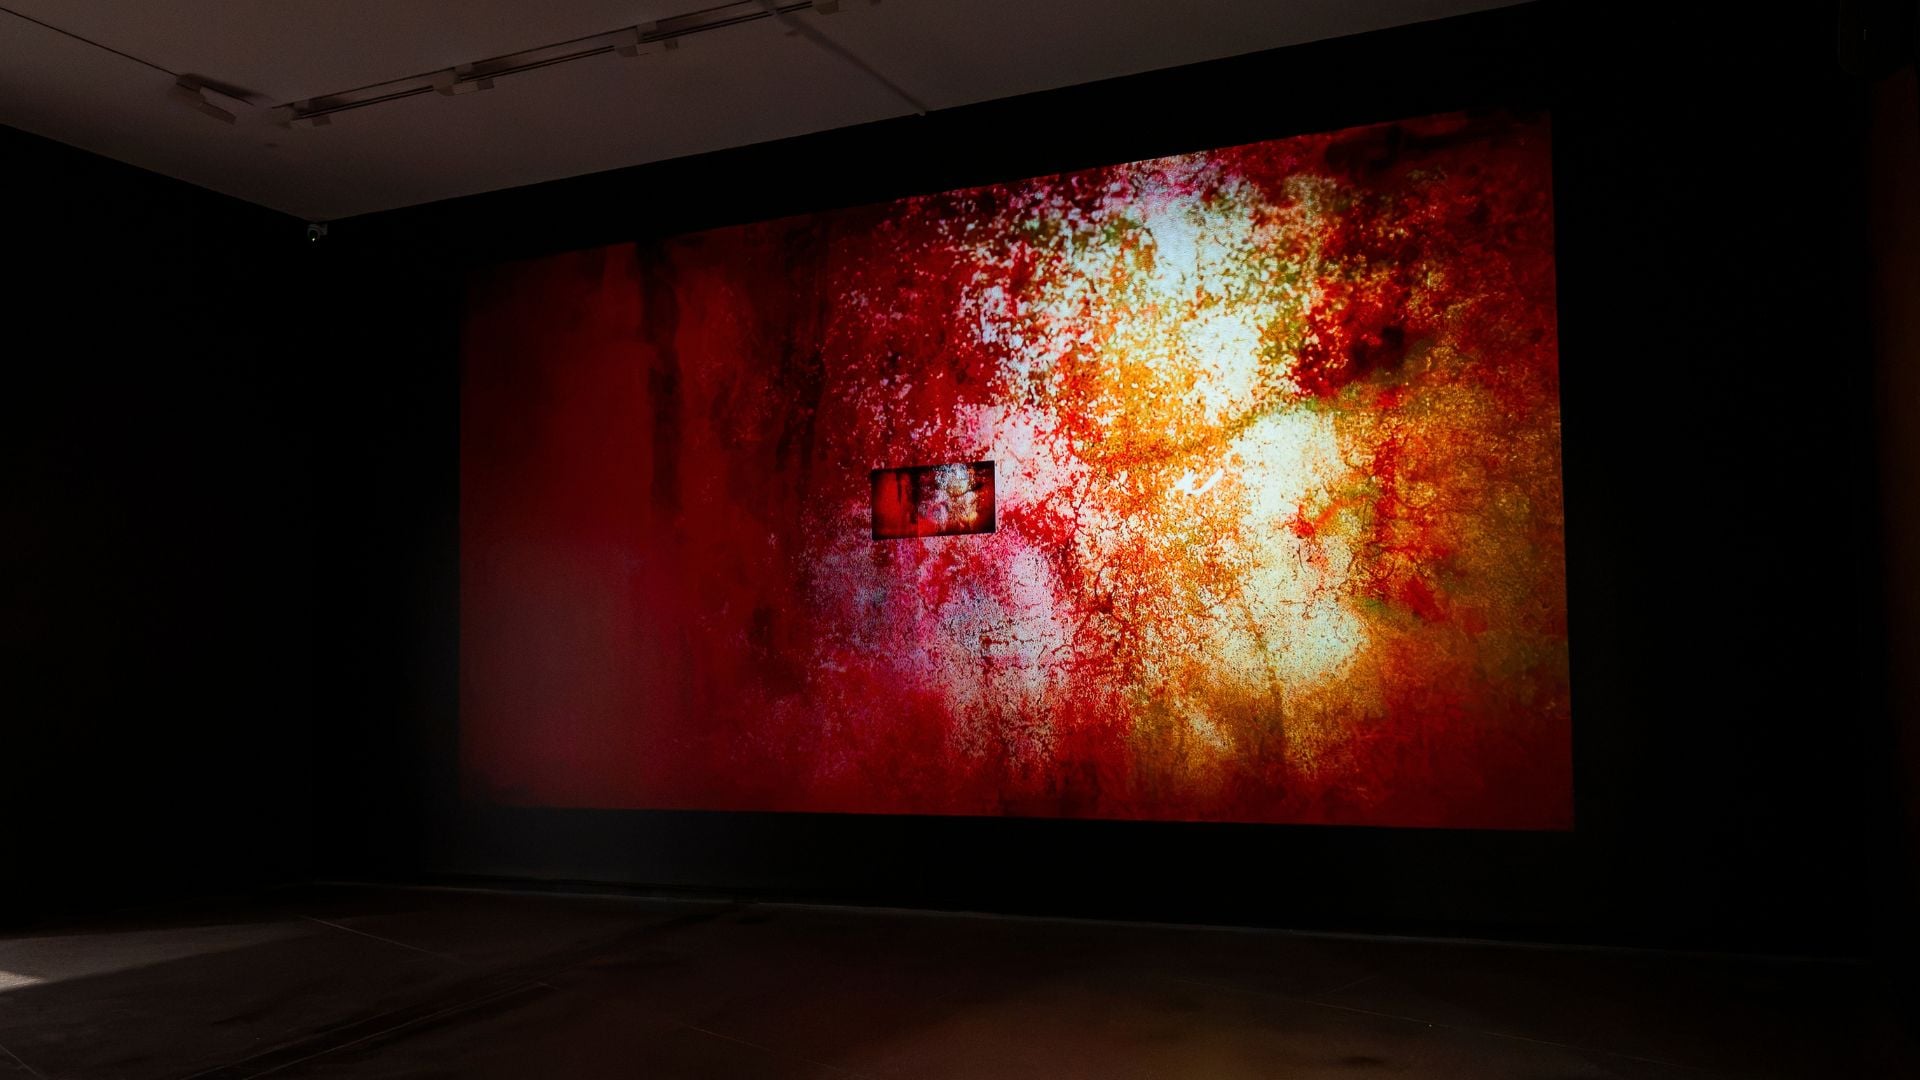
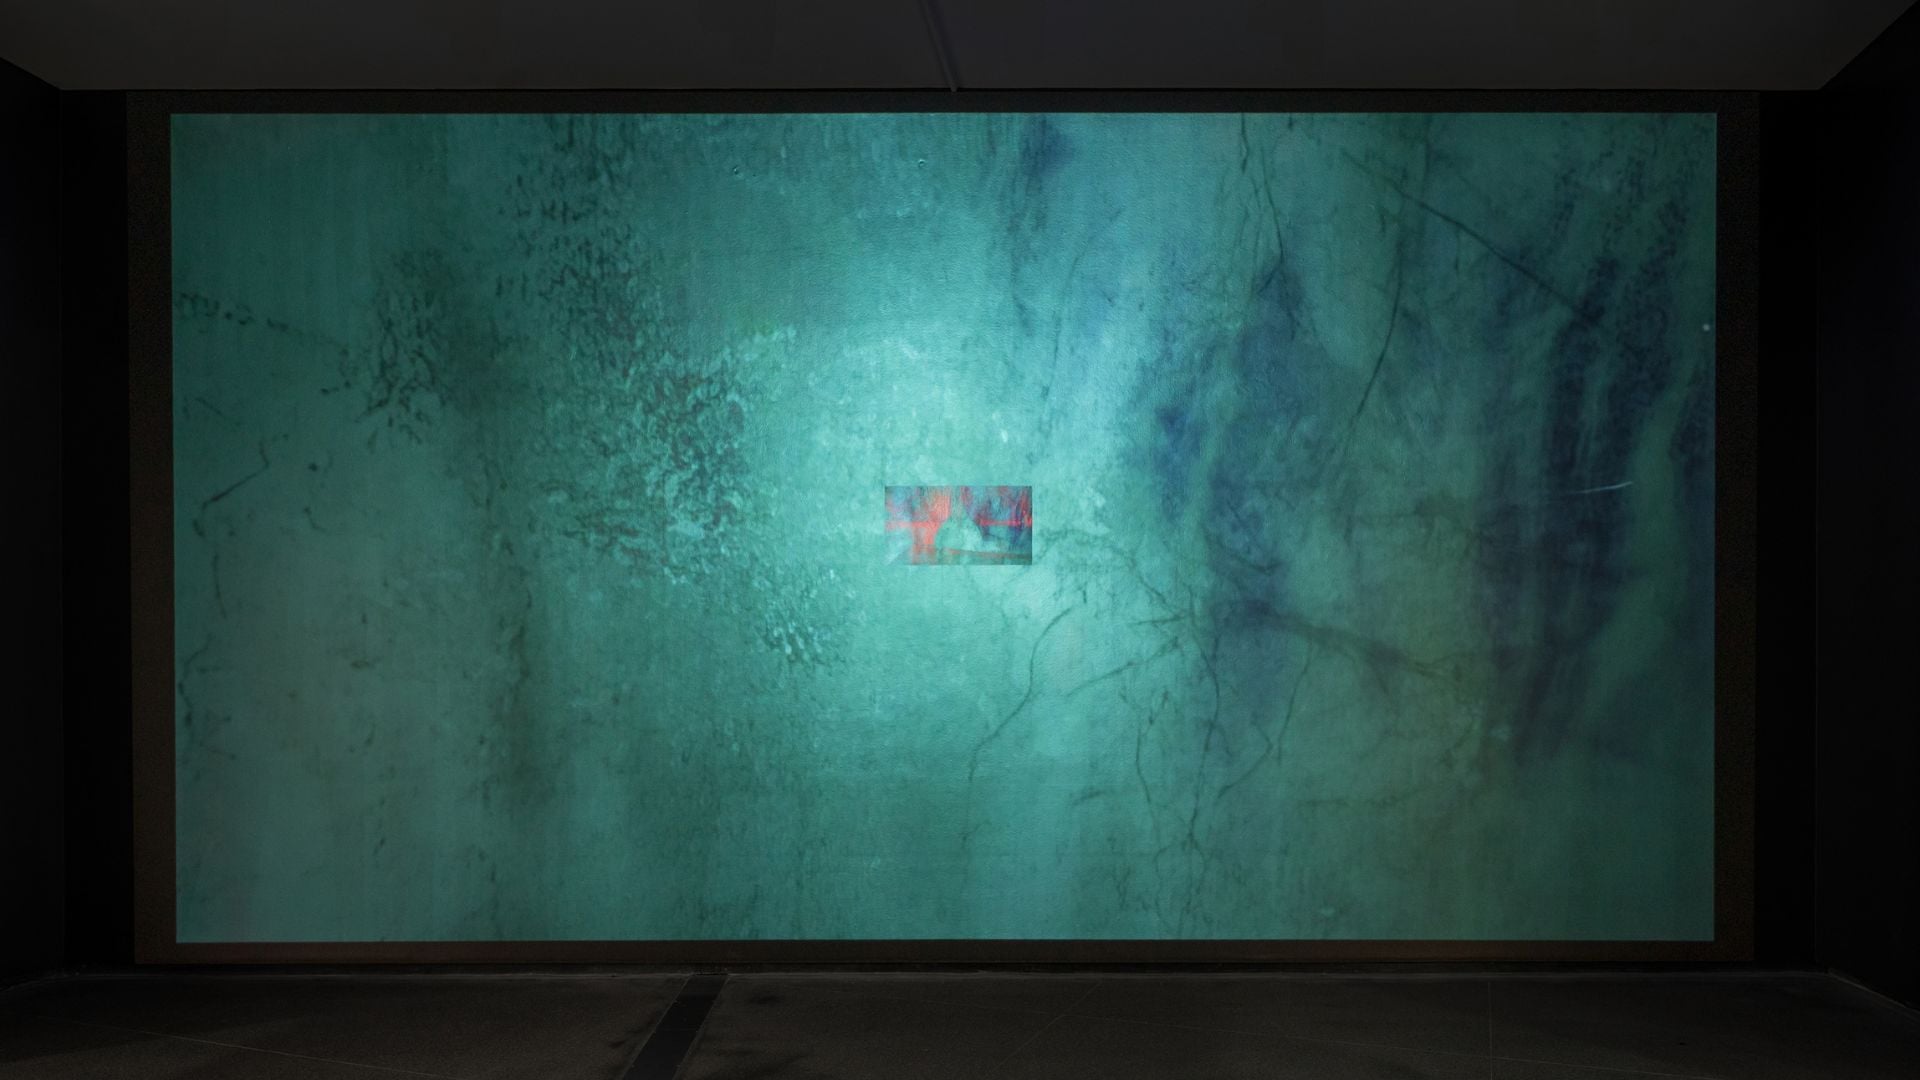
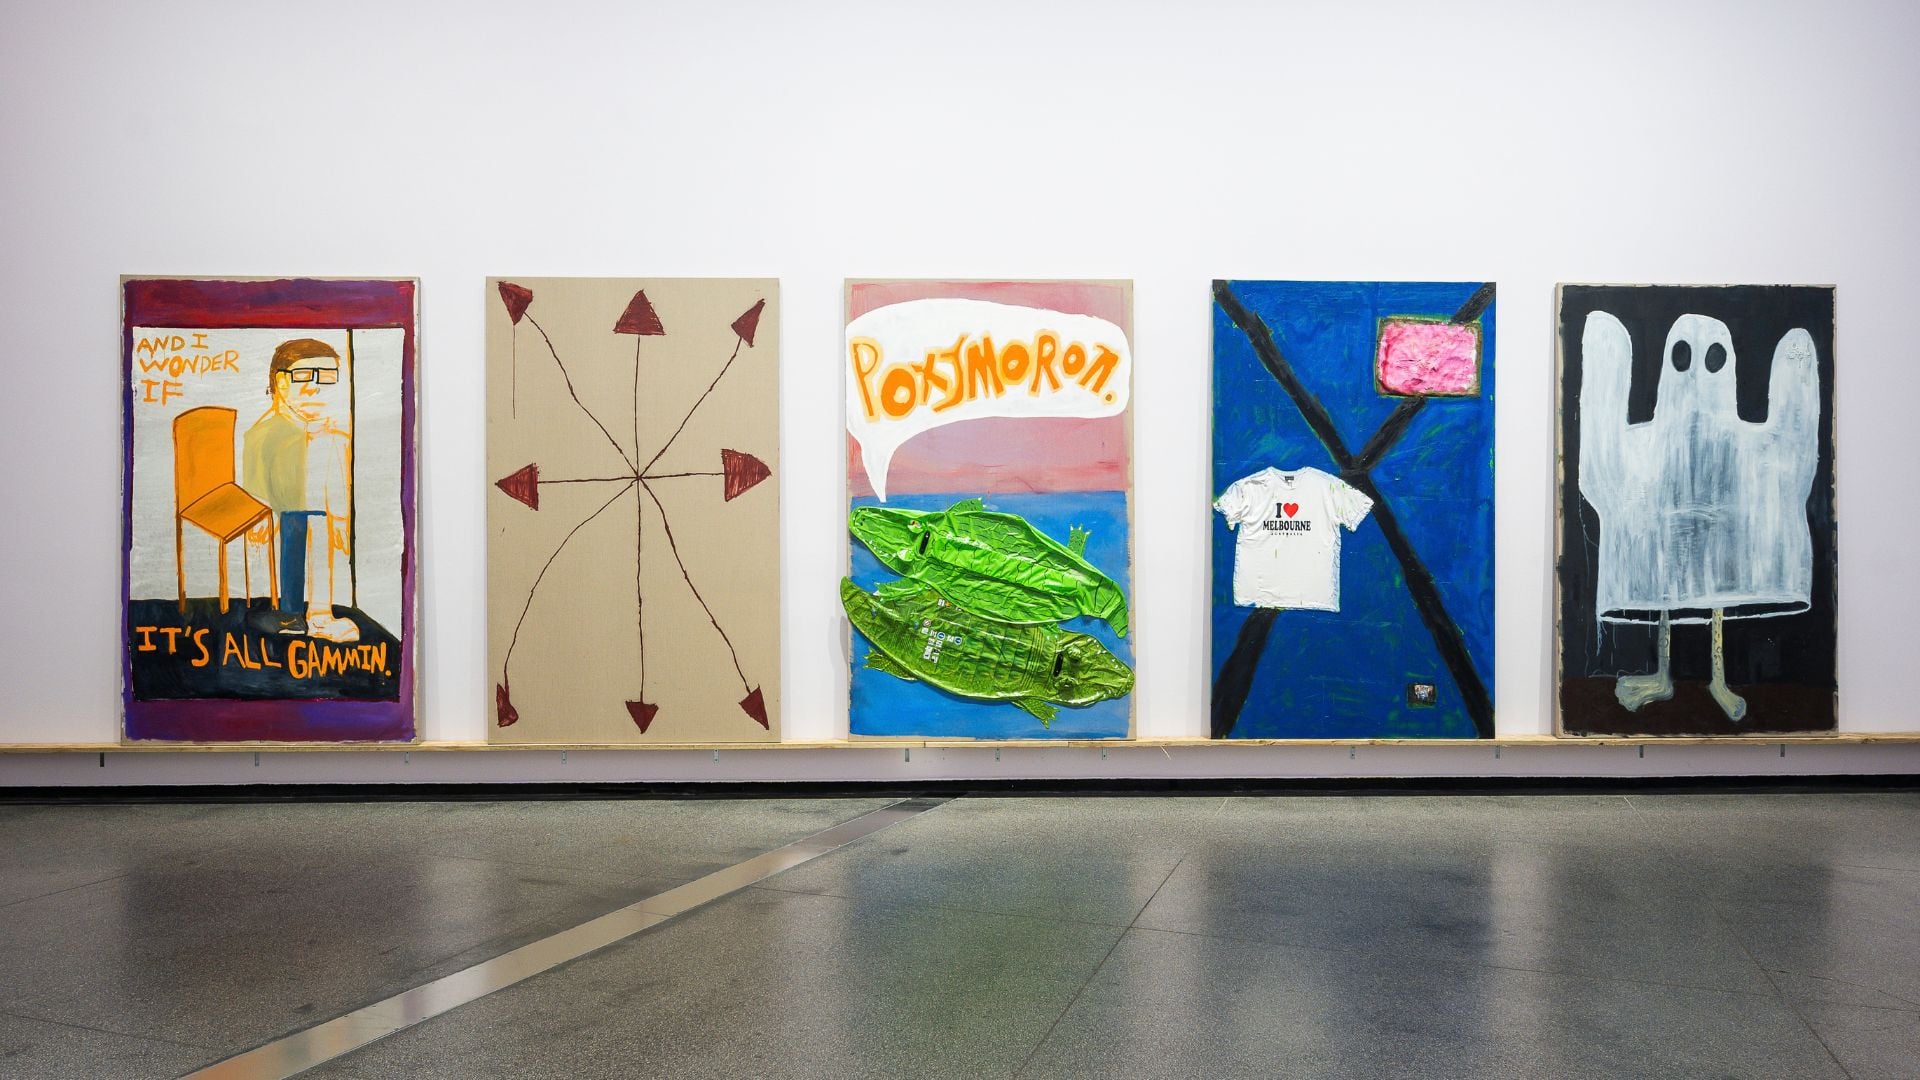
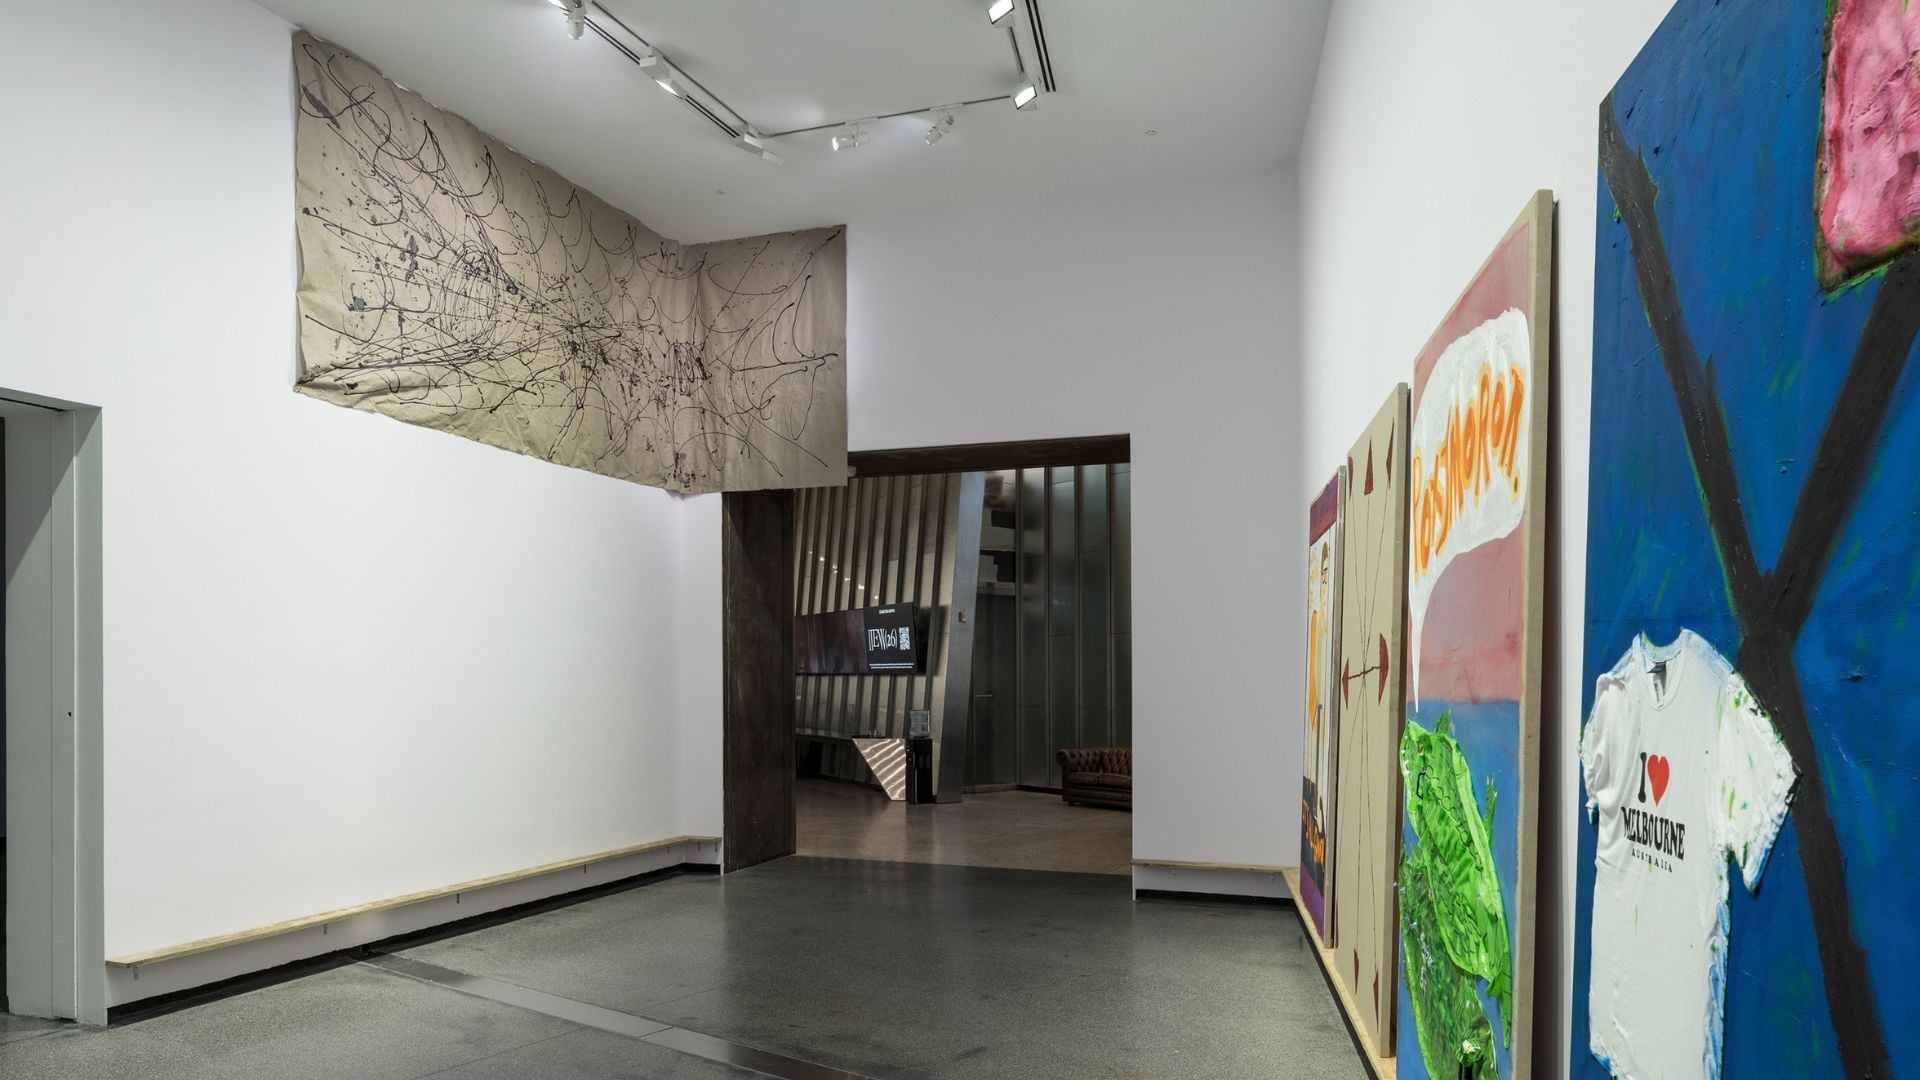
In this activity, students respond to Nicholas Curries’s paintings and experiment with different painting techniques. The concept students are exploring is that of painting as a record of everything that has happened to it. Every scrape, drip and bump is a clue to a creative decision that’s been made. While creating their paintings, students will record their processes in a separate Visual Arts Journal, documenting and annotating the different stages and material explorations.
STEP 1 – Painting surface: Choose a surface for your painting. Choose something that is not typically used as a surface for painting, such as sandpaper, pillowcases, bedsheets, etc. Document your surface (take a photo or include a small material sample) in your journal and explain what made you choose this particular material.
STEP 2 – Ground layer: You can use any paints available, e.g acrylic paints, watercolours.Cover the surface with one colour or use a couple of colour blocks. Use big, fast brushstrokes and a big brush. Record this stage in your journal either by taking a photo or by creating a small sample.
STEP 3 – Build: Build your work up by using additive techniques. Additive means putting stuff on. Here, the painting grows thicker, bumpier and more touchable. Nicholas is using materials like bitumen to create thick textured marks. You can create a gritty mix by adding sand or coffee grounds into your paint. You can also experiment with mark-making using a PVA glue paint mix and then sprinkling sand, coffee grounds or salt.
Experiment: does grit look different under paint or on top of it?
If you want to create shiny, rubbery textures in your work, you can pour a puddle of glue mixed with a little paint or add a pre-made dried glue blob onto your work.
Record your findings in your journal by taking photos or by creating small samples.
STEP 4 – Mark and take away: The same paint looks completely different depending on how it lands. Continue your work by experimenting with different techniques. These techniques can add layers or uncover what’s underneath. Try some of the following:
Dry brushing: Use a very small amount of paint so it catches only the top of the bumps and texture pops out.
Scumbling: Lightly scrub and drag pigment over an existing colour, creating a hazy, cloudy veil where the colour underneath peeks through.
Splattering: Delicately speckle your surface with paint or pigment, like stars or rain; try two complementary or contrasting colours.
Dabbing: Soft, dotty patches that build up like moss by using a brush or sponge.
Sgraffito: Paint a bright layer and let it dry. Paint a dark layer on top. While the top is wet, scratch lines, spirals and patterns with a skewer, fork or the end of a brush. The bright colour should appear.
Lifting: Brush on a wet wash of colour. Press a folded paper towel or tissue onto it and peel away. Try scrunched paper for crinkly shapes, or a clean damp brush to lift away thin lines.
Wiping and dabbing away: Wipe through wet paint with a cloth wrapped around a finger or a baby wipe. Dab with a clean sponge to take colour off in soft patches.
Scraping back: Drag a plastic card across wet paint to squeegee it thin.
Wax resist: Draw firmly with a candle, white crayon or oil pastel. Brush watery paint over the top. The wax pushes the paint away, and your hidden drawing appears.
Experiment: Do sgraffito over a layer with glue and grit underneath. What does the scratching uncover?
Record your findings in your journal by taking photos or by creating small samples.
Extension: Nicholas sometimes uses found materials in his painting such as pool toys and T-shirts. In his practice, material and conceptual decisions are intertwined. You can glue found materials onto your painting to add an extra layer of texture and meaning, and include symbols and material ephemera that holds meaning for you. You can use materials like textiles, photographs, pages from a book or magazine, old tickets, serviettes, food packaging, etc. You can continue to add layers of paint to partly cover the found materials you have used. Record your material choices in your journal, take a photo or include a small material sample.